Do Pavers Need to Be Re-Sanded Before Sealing?
Yes. Joint sand has to be replaced before sealer goes down. Sealer cannot bridge an empty or depleted joint, so sealing over failed sand locks in the weeds, the movement and the erosion, and it wastes the sealer. Re-sand first, then seal.
What does joint sand actually do?
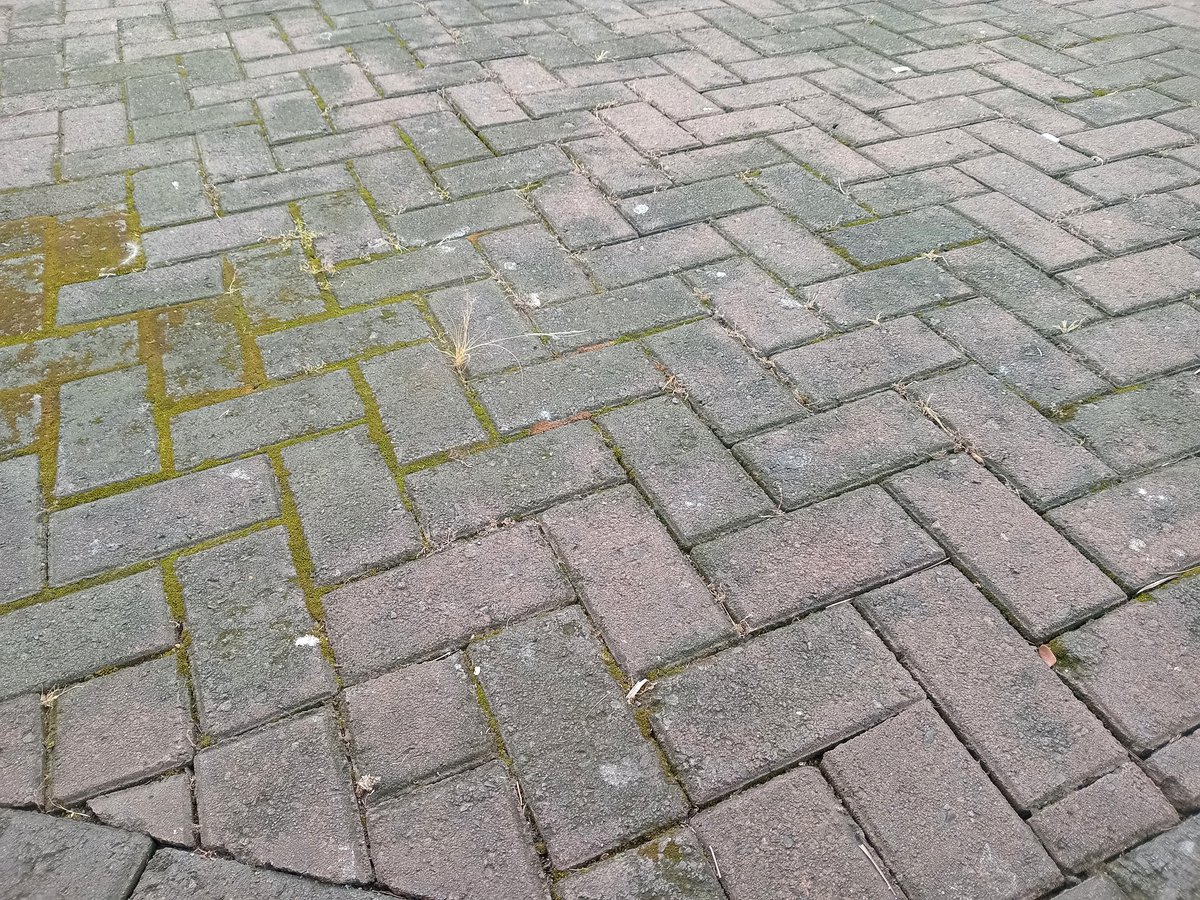
Joint sand is not cosmetic. It is structural. Every paver in your driveway or patio relies on the sand in the joints to lock it in place. The pavers sit on a compacted base, but they stay where they are because the sand in the gaps between them creates friction. Without sand in the joints, the pavers can shift sideways. Shift far enough and the whole surface starts moving.
Joint sand also stops the base from washing out. When joints are full, water runs across the surface and off the edges. When joints are empty or low, water goes straight down into the base material. Over time, that washes the fine particles out of the base and creates voids underneath the pavers. That is when you start seeing low spots, rocking pavers and eventually cracked units.
On a properly sanded driveway, the joints are full to within an eighth of an inch of the paver surface. On a driveway that has not been sanded in years, the joints can be an inch deep or more, filled with nothing but dirt and weed roots. That is not a cosmetic issue. That is a structural failure in progress.
What happens if you seal over failed joints?
Three things go wrong, and they all happen faster than you expect.
The sealer bridges the gap and then cracks. Sealer is designed to coat a solid surface. When you spray it over a half-inch gap where the sand should be, it forms a thin film across the top of the void. That film has nothing solid underneath it. Within weeks, foot traffic and vehicle weight crack the film. The sealer edges peel back, water gets in, and the whole joint is compromised.
Weeds grow through from underneath. If the joints contain dirt and organic material, sealing over them does not kill the weed seeds. It traps them underneath a permeable layer. The weeds grow through the sealer film within a month or two. Now you have weeds growing through a sealed surface, which is harder to fix than weeds on an unsealed one.
The pavers keep moving. Empty joints mean nothing is holding the pavers in place laterally. The sealer on the surface does nothing to stop lateral movement. The pavers shift, the sealer cracks at the edges, and you end up with a sealed surface that already has hairline cracks running through it. The whole job fails from the bottom up.
How do I tell if my joints need re-sanding before sealing?
Three simple checks you can do in five minutes with no tools.
The depth test. Take a key or a flathead screwdriver and poke it into a few joints in different parts of the driveway. If it goes in more than a quarter inch before hitting firm sand, the joints are low. If it sinks to the handle, the joints are empty.
The weed test. Are there weeds growing out of the joints? Even if you pulled them, the roots and organic material are still in the gaps. Spraying kills the visible weed. It does not remove the seed bed. That organic material has to come out before sealing.
The rain test. After a heavy afternoon storm, look at the driveway. Is water pooling in spots? Are there small channels of sand washed across the surface toward the street? Both are signs that joint sand is washing out faster than it should. The joints need topping up before they get any lower.
Why do some companies skip this step?
Skipping re-sanding cuts the labour time by more than half. Cleaning old organic material out of every joint, washing the lines clear and applying fresh sand evenly across the whole surface is the slowest part of a paver restoration job. It cannot be done quickly. It takes hours of hand work.
A crew that skips this step can do two or three driveways in a day instead of one. The jobs look shiny when they leave. The customer is happy for about six months. Then the sealer starts peeling at the joint edges, the weeds come through and the pavers shift. The customer calls back and is told the sealer failed, not that the preparation was incomplete.
You can spot a quote that skips sanding before you book. It will be noticeably lower than other quotes, it will mention sealing but say nothing specific about joint preparation, and when you ask what happens with the joints, the answer will be vague. "We seal the whole surface" is not the same as "We clean out every joint and refill it with stabilising sand before sealing."
What a complete job looks like: clean, treat, re-sand, seal
A proper paver restoration follows four steps in order. None of them can be skipped without compromising the result.
Deep clean
Surface dirt, algae and organic buildup removed from the paver surface and the joints. This exposes the actual condition of the sand underneath.
Treat stains
Oak tannin, rust from well water, oil spots and any other embedded staining treated with the appropriate cleaner. Skipping this locks the stains in permanently under the sealer.
Re-sand joints
Old organic material removed from every joint. Lines washed clean. Stabilising sand swept in and vibrated to full depth. This is the structural step. Without it, nothing underneath holds.
Seal
Two coats applied at the correct coverage rate. The sealer bonds to a clean, stable surface with full joints. It protects the colour, resists stains and locks the sand in place.
How to check a company will do it properly before you hire them
Ask three questions when you get a quote. The answers will tell you everything.
- "Does this price include cleaning out the joints and replacing the sand?" If the answer is anything other than a clear yes, the quote is seal-only. Walk away.
- "What type of sand do you use in the joints?" The right answer mentions stabilising sand or polymeric sand. The wrong answer is "regular sand" or "whatever is available." Regular sand washes out in months.
- "How long will the job take?" A full clean, re-sand and seal on a standard two-car driveway takes one to two days. A same-day quote that includes "everything" is cutting corners somewhere. The sanding part alone takes several hours when done properly.
Quick Answers
You can, but sealing over failed joints locks the problems in. The sealer cracks over empty gaps, weeds grow through from underneath and the pavers keep shifting. The job fails within months instead of lasting years.
Poke a key into a few joints. If it goes in more than a quarter inch, the sand is low. If you see weeds growing from the joints, the gaps are full of dirt not sand. Both mean re-sanding is needed before sealing.
At S&S, yes. Re-sanding is included in every sealing quote. Not all companies include it. Always ask whether joint sand replacement is part of the price before comparing quotes.
No. Sealer is a surface treatment. It does not fill the joints. If weeds are growing from gaps underneath, sealing over them will not stop them. The organic material in the joints has to be removed and replaced with stabilising sand first.
Related Posts
Related services:
Free Quote in 24 Hours
We'll check your joints, assess your pavers and give you a clear quote within a day.
Or call us directly
352-789-0363